How to Upload and Mail to an Address List
This article will show you how to upload a list of addresses and mail to that uploaded address list inside SendJim.
Have a particular list of addresses that you want to send a mailing to? Have a segmented list of clients from your CRM you want to mail to inside SendJim?
Watch the video below, or scroll down for text instructions, to learn how to upload and mail to an address list.


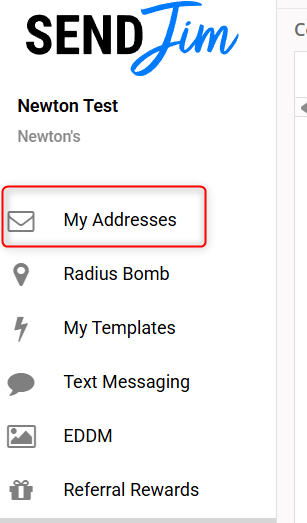
This will take you to an upload page where you can drag the file or click the “Select A File” option. The file can be Excel or CSV format.
There will also be a “Template File” option that you can use to see what fields are accepted.

After you have uploaded the file to the system, you will come to a “File Header Matching” section. On this page, you will want to make sure all your headers match with our headers for a proper upload.

Once the headers are matched, select “Process File”.
If there are any errors in the file, you will receive this pop-up warning:

You can choose to proceed with the same file and only have the valid records uploaded, or you can select a different file to upload instead.
After the import is successful, you will see this message:

Please note, that if you upload a larger file, you may receive a message advising that you will be emailed once the upload is complete. At this time you will be able to leave the page to do additional work on the SendJim site and you will receive an email with any errors or when the upload is finalized.
Once the import is done, you’ll notice that the Import History will automatically show the file information.

Now you're ready to mail to that list.
Click "View" to view that uploaded list in your "My Addresses"

Once in "My Addresses," click the "Select All" button above the top address.

Then, click "Send" at the bottom of the left menu:

You'll then select "Send to Selected Address(s)" from the pop-up:

Select your Template and click "Continue":

Finalize the preview, and click "Send."

